|
|
| |

|
| |
| |
|
Description: The Overhand knot
(OH) is the easiest of all the Macrame knots,
and is found in most patterns. In Vintage
Macrame books it is sometimes referred to as a hard
knot.
Several knots used in this craft are related to
this one, and often start with this basic knot.
Some of them are described below, after the
tying instructions.
This knot can loosen over time, so you need to
apply glue
while you are tightening it.
|
| |
|
|
|
|
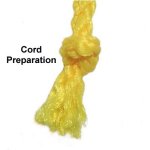
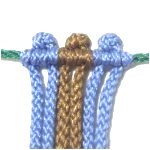
When tied at
the end of a cord, the OH knot will
prevent the fibers from separating
(unraveling).
This is often the easiest way to prepare
cords.
Click on the image or link to visit Cord
Preparation, if you want
more details. |
|
|
|
|
|
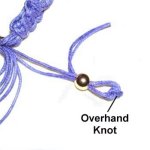
The OH knot
can be used to secure beads, connect two
cords, or to finish them off at the end of
a Macrame project.
Click on the image or link to learn more
about Finishing
Techniques. |
|
|
|
|
|

|
|
Tying Option #1
|
|
| The Overhand knot can be tied anywhere on a
cord. This first option is used when you are
tying the knot near the center
of the cord. |
| |
| |

|
|
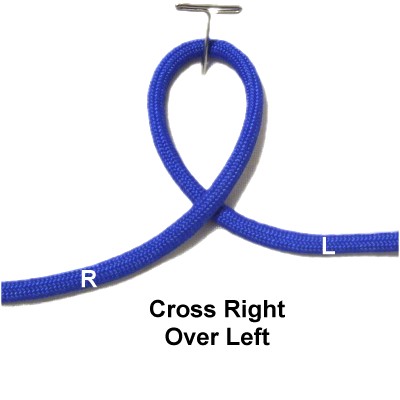
Make a loop at the center of the cord,
crossing the two halves right
over left.
You can secure it on a board, or hold it
in your hands.
|
|
| |
|
|

|
|
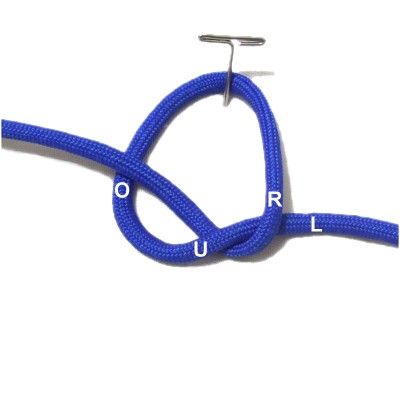
Move the right
half of the cord through the loop
from below, which is under
- over.
|
|
|
|
|
|
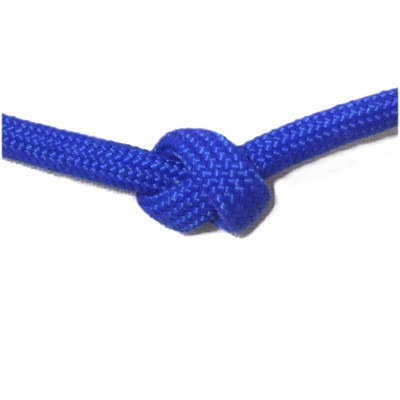
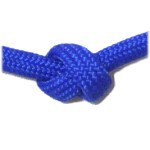
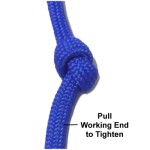
Tighten the knot
by pulling on both halves of the cord
evenly.
Adjust the placement as needed for your
project. |
|
|
|
|
|
|
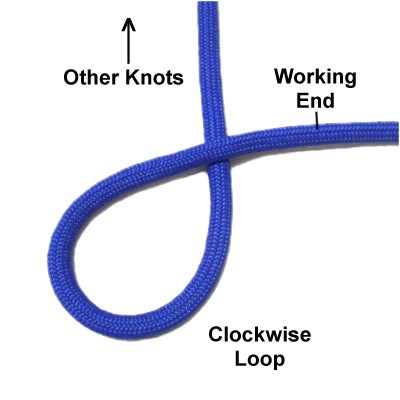
Tying Option #2
|
|
This next method for tying the OH knot is used
when you have only one end of the cord to work
with because other knots are present.
This technique is also used when placing OH knots
near the tips of the cords, like you do with a
beaded fringe.
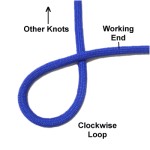
In the instructions below, the loop is made clockwise.
You can do the same thing counter-clockwise,
if a direction change is necessary.
|
|
|
| |
|
|
Step
2: Secure one end of the
cord to your board vertically, so it
mimics a situation where you have other
knots and only one end to make the OH
knot.
Make a clockwise
loop with the working end. |
|
| |
|
| |

|
|
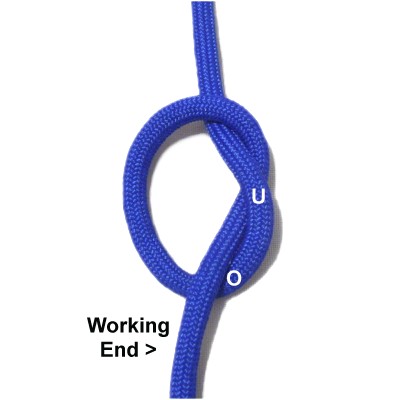
Pass the
working end through the loop from below,
which is under
- over.
|
|
| |
|
|
|
|
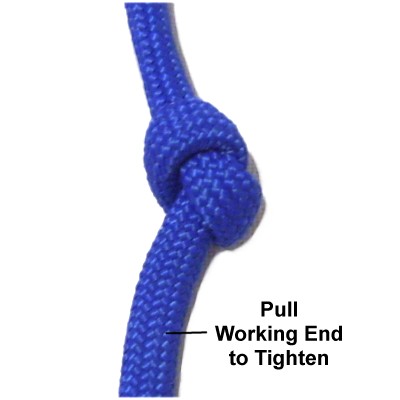
Tighten the OH
knot by pulling on the working end.
Make adjustments to the placement as
needed for the project you are making.
|
|
|
|
|
|
|
| |
Related Knots and Projects
|
| |
|
Several knotting techniques use the OH knot as
part of their design, so I've listed a few
below.
There are also two very easy projects that
feature the OH knot.
Click on the
link or image to view the instructions for the
knot or technique described below:
|
| |
|
|
|
|
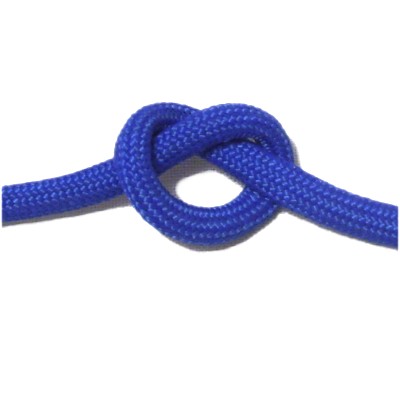
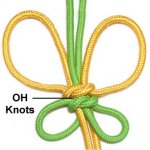
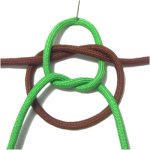
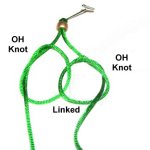
Be sure to
visit the Linked
Overhand Knots.
You will learn how to connect two cords
using several different techniques.
The one shown here is the Shamrock Knot. |
|
|
| |
|
|
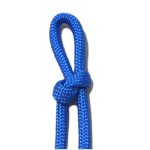
The
Slipknot
is related to the OH knot.
It is sometimes called the Overhand
Noose. |
|
| |
|
| |
|
|
The Venetian
Picot Mount shows you three
ways to use the OH knot to mount cords at
the beginning of a Macrame project.
|
|
| |
| |
|
|
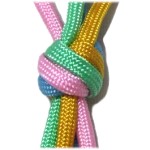
The Matthew
Walker Knot is made with
four or more OH knots linked together.
That page was recently updated and
improved, so please visit! |
|
| |
|
|
|
The Hanger
Knot is a combination of
two linked Overhand knots made with one
cord.
An example for using it is shown below.
|
|
|
| |
|
|
|
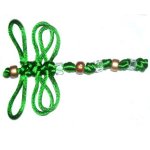
The Satin
Dragonfly is made with the
Hanger knot for the body and wings, and
the OH knot for the tail and head. |
|
|
| |
|
|
|
|
| |
| |
|
|
By
using any text or images on Free Macrame
Patterns, you are agreeing to our Terms
of Use
|
|
|
|
| |
|
Have
any comments about the Overhand Knot? Contact
Me.
|
|
|
|
|
|
|
| |