|
|
| |
|
|
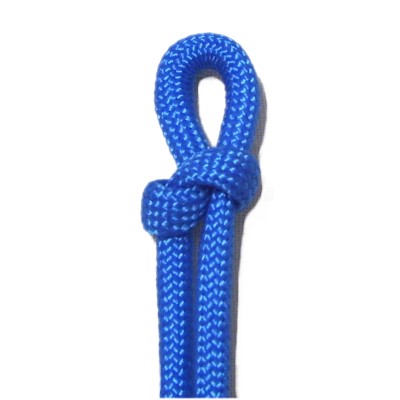
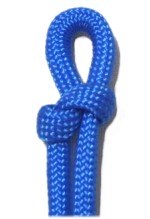
Description: The
Slipknot is sometimes called the Overhand Noose.
It's related to the Overhand knot.
In Macrame, it's used to connect cords,
and to form other knot designs.
Since it's easy to tie and remove, you
can use it to keep a group of cords
together to organize them.
There are two ways to tie this knot,
and both are shown below. Also on
this page are related techniques.
|
|
|
|
|
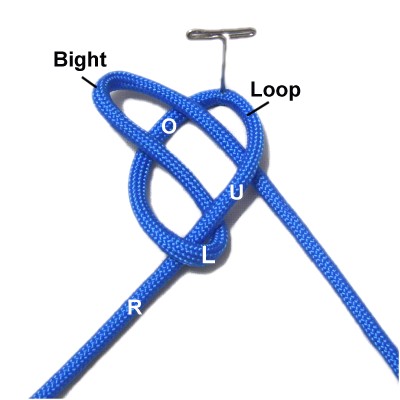
Tying Option #1
|
| |

|
|
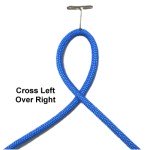
Step 1: Make a loop in
the center of a cord, which should be at
least 18 inches long.
Cross the left half over the right.
|
|
| |
|
| |

|
|
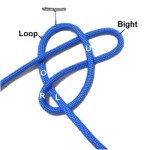
Fold the left
half of the cord to make a bight.
Push it through the loop from below,
which is under
the right side and over
the left side.
|
|
| |
|
|

|
|
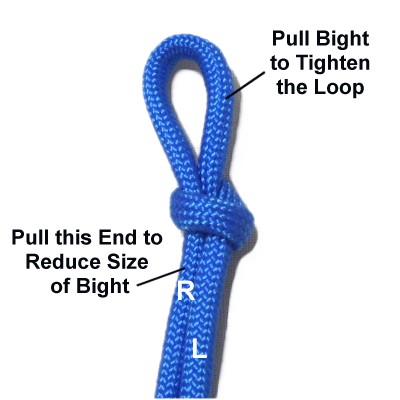
Tighten the
knot by first pulling on the bight.
This will tighten the loop around
it.
Then pull on the left
portion of the cord to reduce the
size of the bight (on the right in this
image). |
|
|
|
|
|
|
Tying Option #2
|
|
| Sometimes a Macrame design requires you to
change the knot slightly, so the bight passes
through the loop from the top. |
|
| |
|
|
Make the loop at the center, crossing
left over right.
|
|
| |
| |
|
|
|
Fold the RIGHT
half of the cord to form a
bight.
Pass it through the loop from above,
which is over
the left side and under
the right side.
So this is the opposite of the first tying
method.
|
|
|
|

|
|
Tighten the
loop by pulling on the bight.
Pull the right
portion of the cord to reduce the
size of the bight.
|
|
|
|
|
|

|
|
Related Techniques
|
|
| Click on the links or images to go to the pages
described below: |
|
|
|

|
|
The Overhand
Noose can be combined with other knots to
make the loop more stable. It can
also be used as a mounting technique.
See Unique
Mounting Designs for more
details. |
|
|
|
|
|
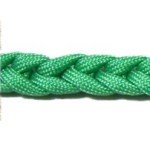
The Chain
Sennit is a vintage technique based
on the Slipknot.
You make a series of bights that are
linked to form a chain-like design.
|
|
|
|
|
|
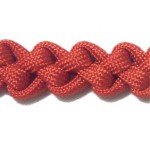
The Zipper
Sennit is similar to the
Chain Sennit, but you alternate between
the two halves of the cord.
The edges have a zigzag shape. |
|
|
|
|
|
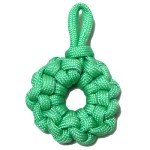
The Ashoka
Chakra is a unique knotted
design where a series of Slipknots are
attached to a loop.
It's then formed into a circular shape to
make a pendant or earrings.
|
|
|
|
|
|
| |
By
using any text or images on Free Macrame
Patterns, you are agreeing to our Terms
of Use
|
| |
|
| |
|
Have
any comments about the Slipknot? Contact
Me.
|
|
|
|
|
| |
| |