Description: There are several
ways to make Jewelry Clasps, using buttons,
beads, and/or decorative knots. On this page are
a few techniques frequently used in Macrame as
well as Micro-Macrame designs.
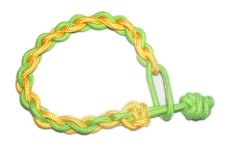
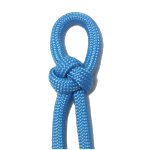
The image above shows a simple loop/button knot
closure. The loop is formed as you begin
to tie the knots for the jewelry item. The
button knot is tied in the last step.
Click on the images or links to go to the page
described. In some cases, larger
images will come up.
Knot Clasps
The Buttonhole
Clasp is a vintage design
that can be used to form a sturdy loop.
It's made with the Vertical Larks Head
knot.
A button,
bead, or round knot is placed at the
other end of the design. It passes
through the opening in the clasp.
Sliding
clasps are very
popular. After you make the
bracelet, you use a separate piece of
material to tie one or more knots around
all the ends.
When it's
finished, you stretch the bracelet open,
fit your hand through, and pull on the
ends to close.
The
Zip Clasp
is a very unique type of sliding
clasp.
It's
constructed so you only need to pull one
end to close the bracelet.
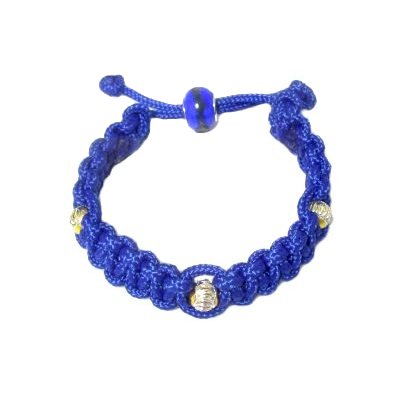
Sliding Bead Clasp
A quick and easy way to make jewelry clasps is
to use a beadinstead
of a knot.A button
can also be used in this same manner.
You need abead
with a hole large enough for all
the cords to pass through (from both
ends).
For jewelry designs where several cords are
used, you can finish
off most of the ends, so only 2 - 4
pass through the bead.
Make a circle
with the bracelet or necklace.
Pass the ends coming from the right
through the bead.
The ends coming from the left should be
passed through in the opposite direction.
Tie tight Overhand
or Barrel
knots to prevent the cords from sliding
out of the clasp.
These knots should be placed 1 to 2
inches from the bead, so you can open
the bracelet.
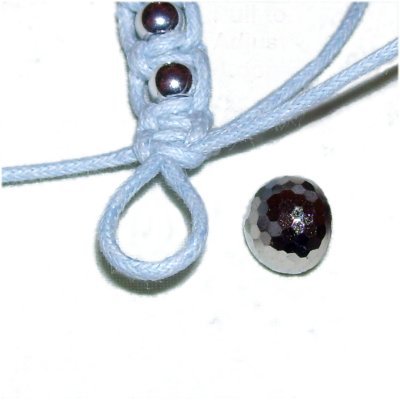
Loop + Button Clasps
Jewelry
clasps should look like part of the
overall design. You can tie the knots so
there is a small loop at one end.
When you get
to the opposite end, attach a button or
bead to the cords.
There are
many knots that can be used to make
these types of jewelry clasps.
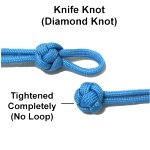
The Knife
Knot, also called the
Diamond Knot, can be made with or
without the loop. It's frequently
used in Paracord Bracelets. It can
be made with one cord, or with two.
Two of the Alpine
Knots have loops at the
top, so are good choices for loop clasps.
This one is the Alpine Butterfly
knot.
Metal Jewelry Clasps
You can, of course, purchase clasps for
jewelry. Most are made of metal, and there
are many types available.
Here are three examples:
Hook
Clasps are by far the most common
type used in Micro-Macrame projects.
They come in many shapes.
SHIPWRECK BEADS has a wide
selection of pewter clasps, including the
Mermaid Clasp shown here.
A Box
Clasp has a clip that fits into a
round or square frame.
It will usually have several loops where
you attach cord material.
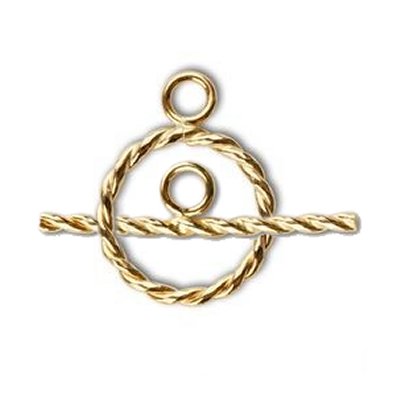
A Toggle
Clasp has a ring or other shape
for one end, with a bar for the other end
of a jewelry design.
By using any text
or images on Free Macrame Patterns, you are
agreeing to ourTerms of Use