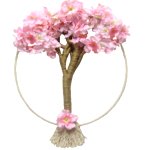
The branches
for the Tree
Decoration are made with
the Wrapped knot.
It's a challenge to make the knots long,
so this is a good project that will test
your skills.
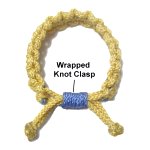
Wrapped Knot Instructions
You need a group of at least 3 cords to be used
to hold the knot. These are the gold cords
shown in the images.
The working cord is a separate piece of
material (green cord in images). It
should beat
least 30 incheslong
if you are practicing.
Most Macrame patterns will specify how long the
cord should be. In most cases, the knot will be
around 1 - 2 inches long.
Step
1: Arrange the cords
holding the knot vertically. Tie an
Overhand knot at one end of the working
cord (green), and secure it to the left of
the other cords.
Fold it just beyond the area you plan to
wrap, and bring the working end back
towards the knot. Secure the folded
area.
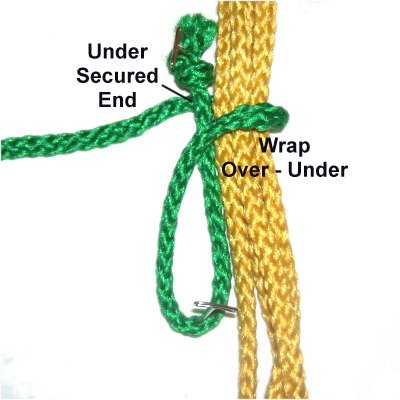
Step
2: Wrap the working end over
the holding cords, then under
them.
Make sure it passes under
the secured end of the working cord as you
pull it to the left.
Step
3: Wrap the working end
around again, arranging it just below the
first wrap. Make sure it's snug.
Continue wrapping firmly, until you have
reached the appropriate size for your
project, or are close to the folded area.
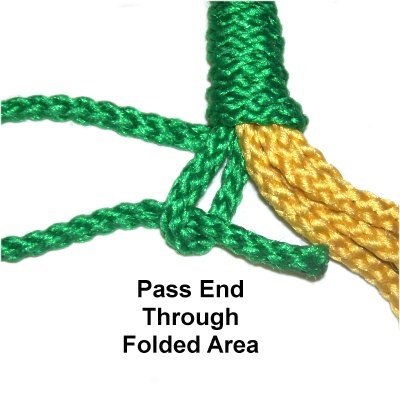
Step
4: Pass the end of the
working cord through the folded area,
which now looks like a loop.
Pull it all the way through, holding the
bundle firmly so the wrap don't
loosen.
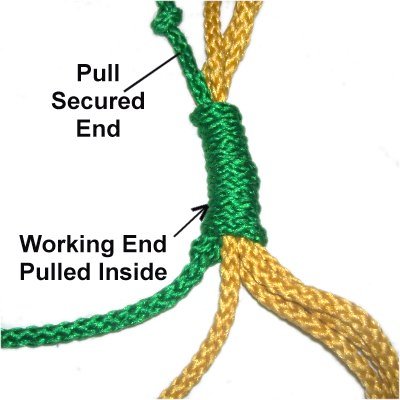
Step
5: Pull the secured
end (with the knot), at the top
of the knot.
The folded area will be pulled inside,
bringing the working end along with
it.
Pull it
about half way through the knot.
Step
6: In a Macrame project, you would cut
the ends of the working cord flush with the top
and bottom of the knot.
Tuck the stubs inside the wrapped portion to hide
them.
Skip this step if you are just practicing and want
to save the cord.
By
using any text or images on Free Macrame
Patterns, you are agreeing to ourTerms
of Use