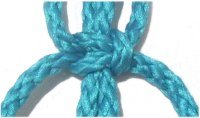
The Square knot (SK) is the most
important decorative knot used in
Macrame. There are many variations and
patterns that can be made using this knot alone,
or in combination with other types of Macrame
knots.
Beginners should practice all the variations
listed in the Learn Macrame section.
This knot can be used to make sennits,
which means to tie one right after the next in a
chain. See Square Knot Sennits
for examples.
You can also tie them in horizontal rows
with straight or diagonal edges. See the
pages below for more details.
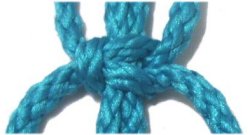
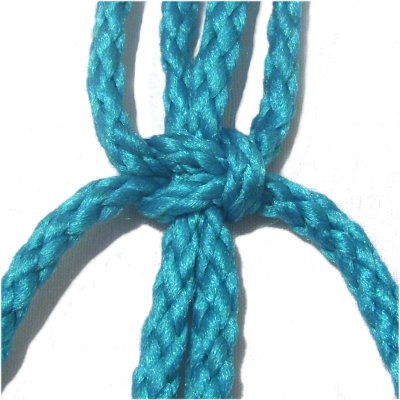
You will need four cords to practice the Switch
knot. It helps if you use two colors.
Arrange them so two cords of the same color are
together, with the other two on either side, as
shown in the instructions below.
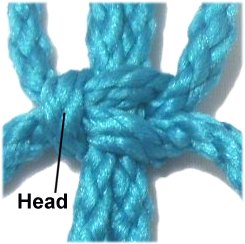
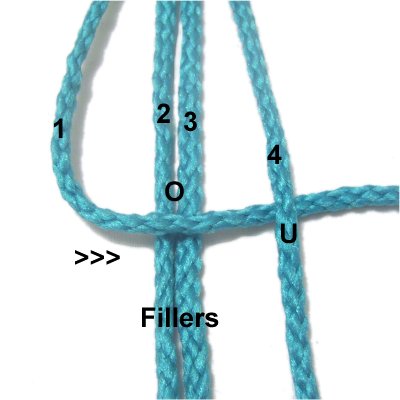
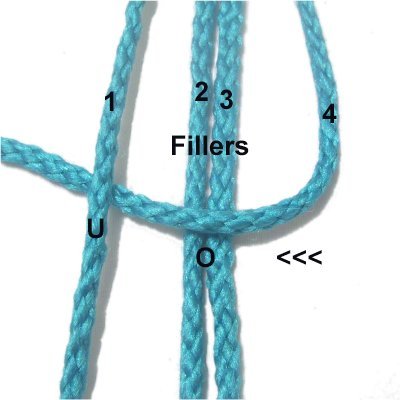
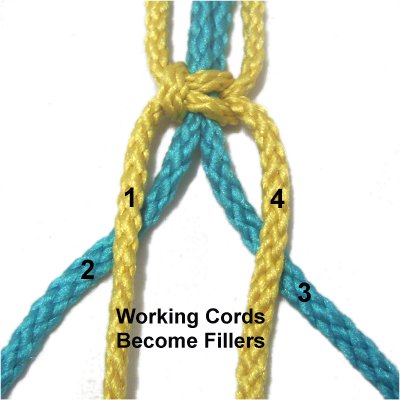
Step
1: Mentally number the four
cords.
Tie a LEFT SK with cords 1 and 4, as
described in the instructions above.
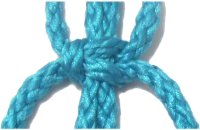
Step 2: Separate
cords 2 and 3 (fillers).
Bring working
cords 1 and 4over
them, so they rest between the two
cords.
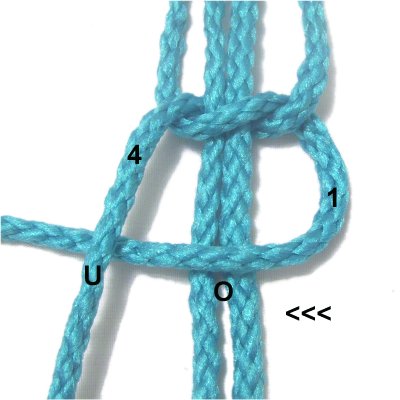
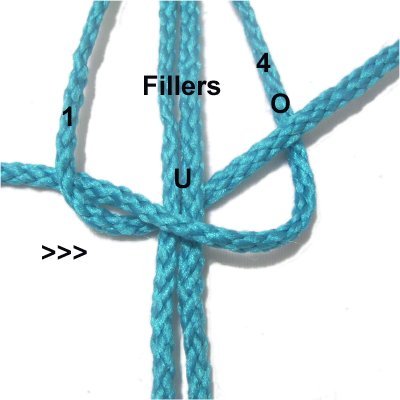
The next SK is tied with cords 2 and 3,
and the fillers are cords 1 and 4
(switched).
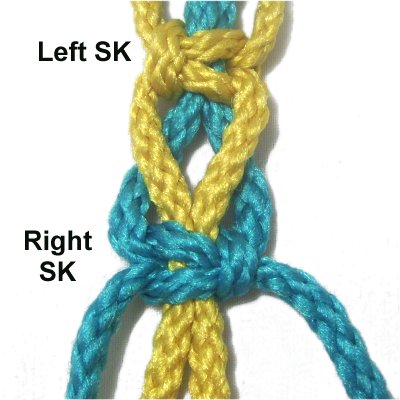
Step
3: Tie a RIGHT SK, using
the cords in their new arrangement.
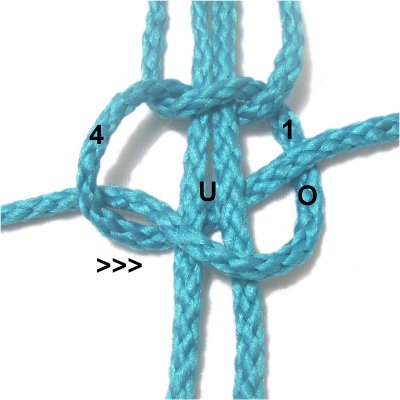
Tighten the knot so it rests at least
1-inch below the first SK.
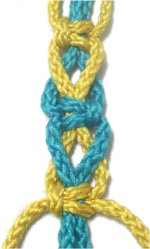
Designer's
Tip: In most Macrame patterns, you
won't be told which direction the knots should
face. It will be up to you to decide if you
want to alternate with left and right SK.
Make sure the distance between the knots is the
same all the way down the length of the sennit.
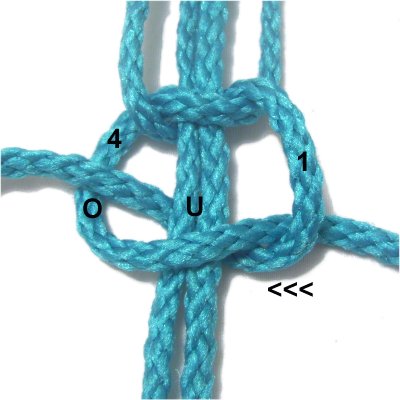
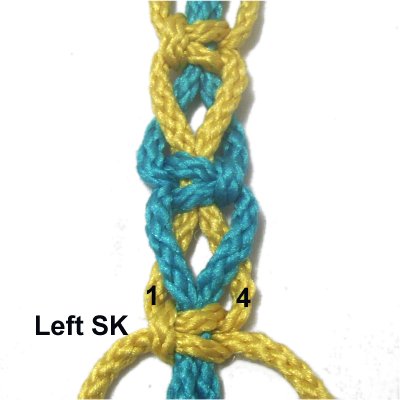
Step
4: Move cords 2 - 3 over
and between cords 1 and 4, to be used as
the next fillers.
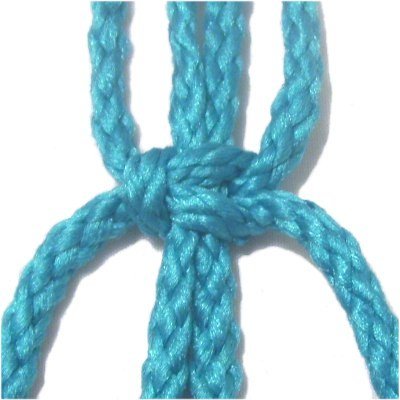
Tie a LEFT SK with cords 1 and 4.
To continue, repeat steps 2 - 4.
By
using any text or images on Free Macrame
Patterns, you are agreeing to ourTerms
of Use